Here is a brief insight into one of the processes I use – blowing glass shards.
Note. I am not going into great detail here, nor am I specifying any heats taken.
Step 1.
Using a hot, clear blowing iron I pick up a piece of colour out of the top loader (this is solid coloured glass rod placed into a small kiln that heats up and maintains an optimum temperature) Usually when working with colour I pick it up on a bit iron first and then onto the blowing iron to ensure a balanced temperature, but for this purpose it is not entirely necessary .
Step 2.
I have to next set up my colour, by this I mean shape it according to what I am using it for. Firstly I have to gently push it back onto the iron to ensure a seal is formed and no air can escape, next I shape it. I use either the marver (a metal surface onto which you can roll your glass) or the back of my Jacks (the name of one of the tools we use). In these photographs you can see me using the Jacks.

Step 3.
Now that I have my colour set up, I need to ensure there is a small amount of air inside so that when I gather glass over it, it will inflate. To do this I use what is known as thumbing in. 
This technique requires you to force air down the pipe, capping it off with your thumb. This forces the air pressure into the glass, forming a small bubble. This is a quick technique which can be tricky to master. You have to continuously turn (which is the case in pretty much everything you do in glass blowing) whilst quickly blowing and blocking the pipe, but you also have to be aware of the temperature of your glass and the force with which you blow. These considerations will determine your success.
Step 4.
Once the colour has cooled slightly, I take a gather. This is where you place the end of the iron into the crucible and collect the glass. This too takes a while to master, if only to get used to the intense heat!
Step 5.
I now begin to control the freshly gathered glass, as it is lively at this point. There are different ways of doing this, depending on how many gathers you have or what you are using it for. For making shards I generally use the paper (newspaper that is slightly damp), or the block (varying sized wooden blocks made from cherry wood or similar)

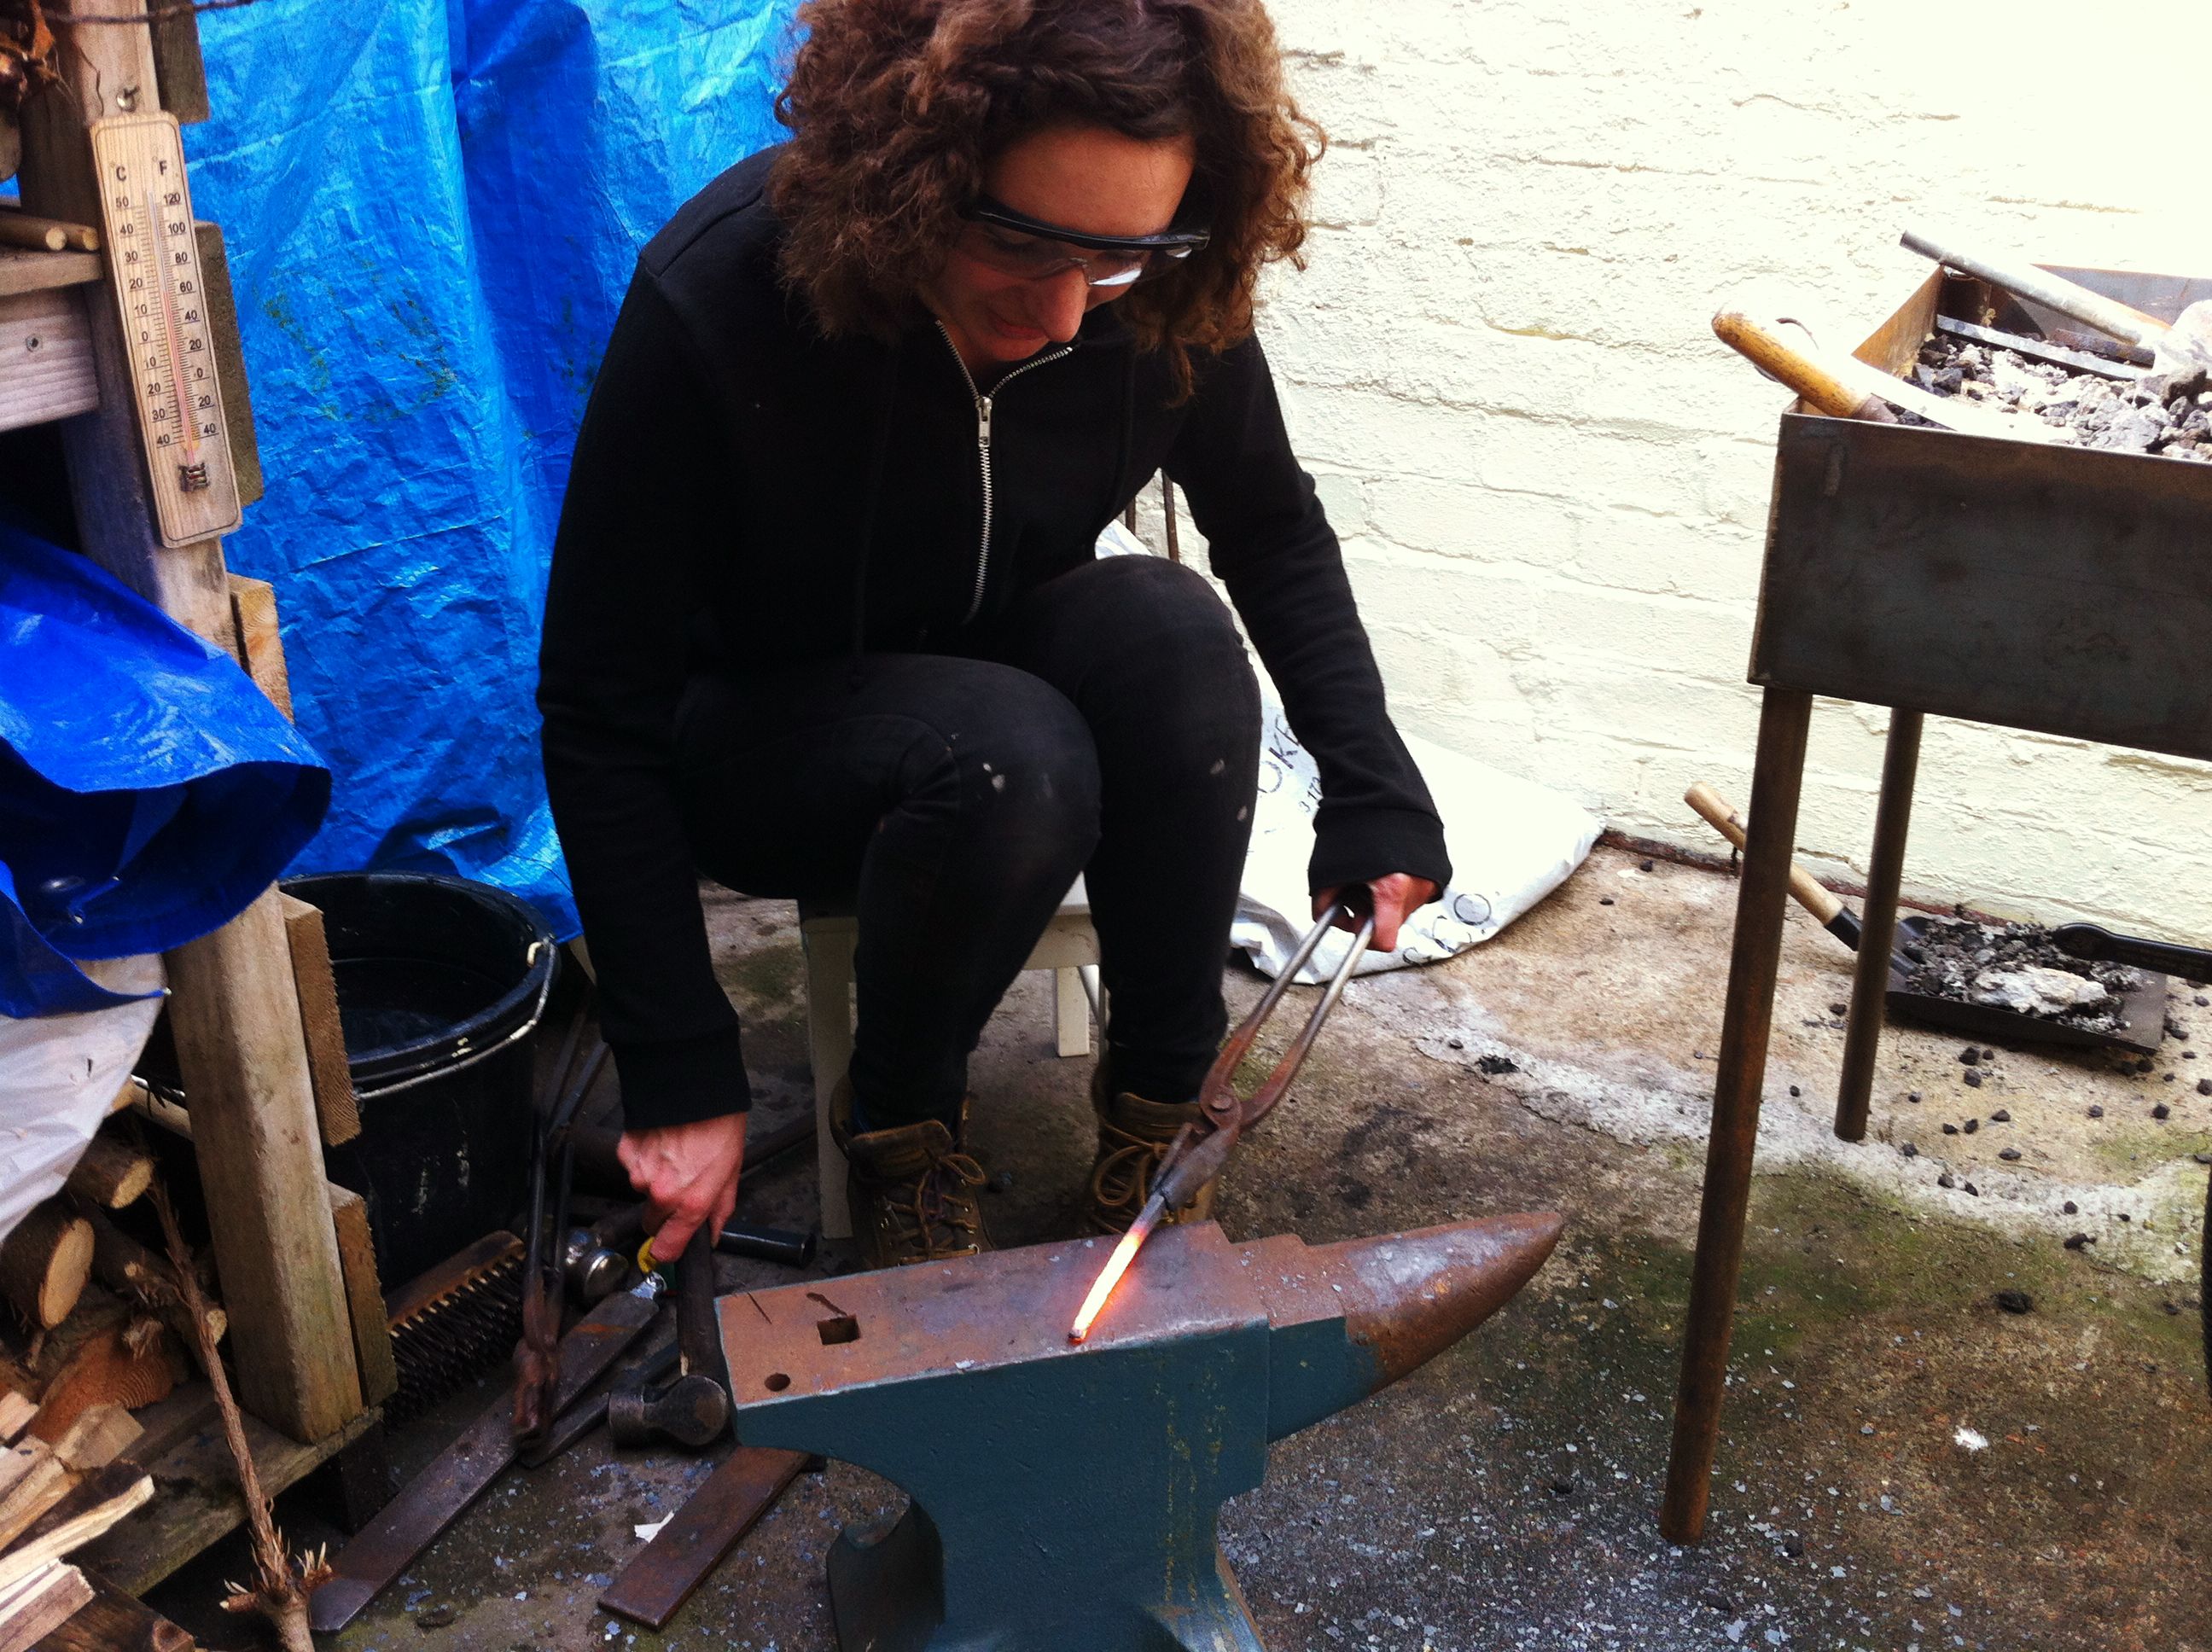
The fire in the first picture is just for effect and was created by using dry newspaper (this isn’t good for actual pieces as it is extremely smoky and can get carbon stuck to your glass)
Step 6.
Although I haven’t stated any reheats, sometimes they are required. This helps to maintain an even temperature through the glass for even blowing and ease of working. At this point though, I need to have my glass extremely hot again and so I take a long heat.

Step 7.
Generally I quickly paper the glass at this point, just to skin up the exterior so that I have more control. I then gently, at first, blow. I am aware of the cooling speeds of different coloured glass and so will vary how soft or hard I blow depending. I want the glass to expand past the normal working point, into large, thin forms.

Once it has cooled (not so much that it explodes…) I use the back of my tweezers to gently crack the glass. Breaking the glass onto newspaper means that it doesn’t collect dust etc. and become unusable in further techniques.
This isn’t the most technically difficult of processes, but it does require a good understanding and control of temperature.
I will show you what I use these for next time.